Are you a coffee lover looking for a decadent dessert? This exclusive coffee mousse recipe is the perfect treat! Smooth, creamy, and bursting with rich coffee flavor, this dessert is surprisingly easy to make. Whether you’re hosting a dinner party or just craving something sweet, this homemade coffee mousse will impress everyone.
In this 1,500-word guide, we’ll walk you through:
✔️ The best ingredients for the perfect coffee mousse
✔️ Step-by-step instructions with tips for success
✔️ Variations and serving suggestions
✔️ FAQs about coffee mousse
Let’s dive in and create this irresistible dessert!
Why You’ll Love This Coffee Mousse Recipe
Silky smooth texture – Light, airy, and melt-in-your-mouth delicious.
Rich coffee flavor – Perfect for espresso lovers.
Easy to make – No baking required, just a few simple steps.
Elegant presentation – Great for special occasions.
Ingredients for the Perfect Coffee Mousse
To make this fluffy coffee mousse, you’ll need:
Core Ingredients
- 1 cup heavy cream (35% fat) – For a creamy, stable mousse.
- 3 large egg yolks – Adds richness and structure.
- ¼ cup granulated sugar – Sweetens the mousse.
- 1 tbsp instant espresso powder (or strong brewed coffee) – For deep coffee flavor.
- ½ tsp vanilla extract – Enhances the taste.
- 1 tsp unflavored gelatin (optional) – Helps stabilize the mousse if needed.
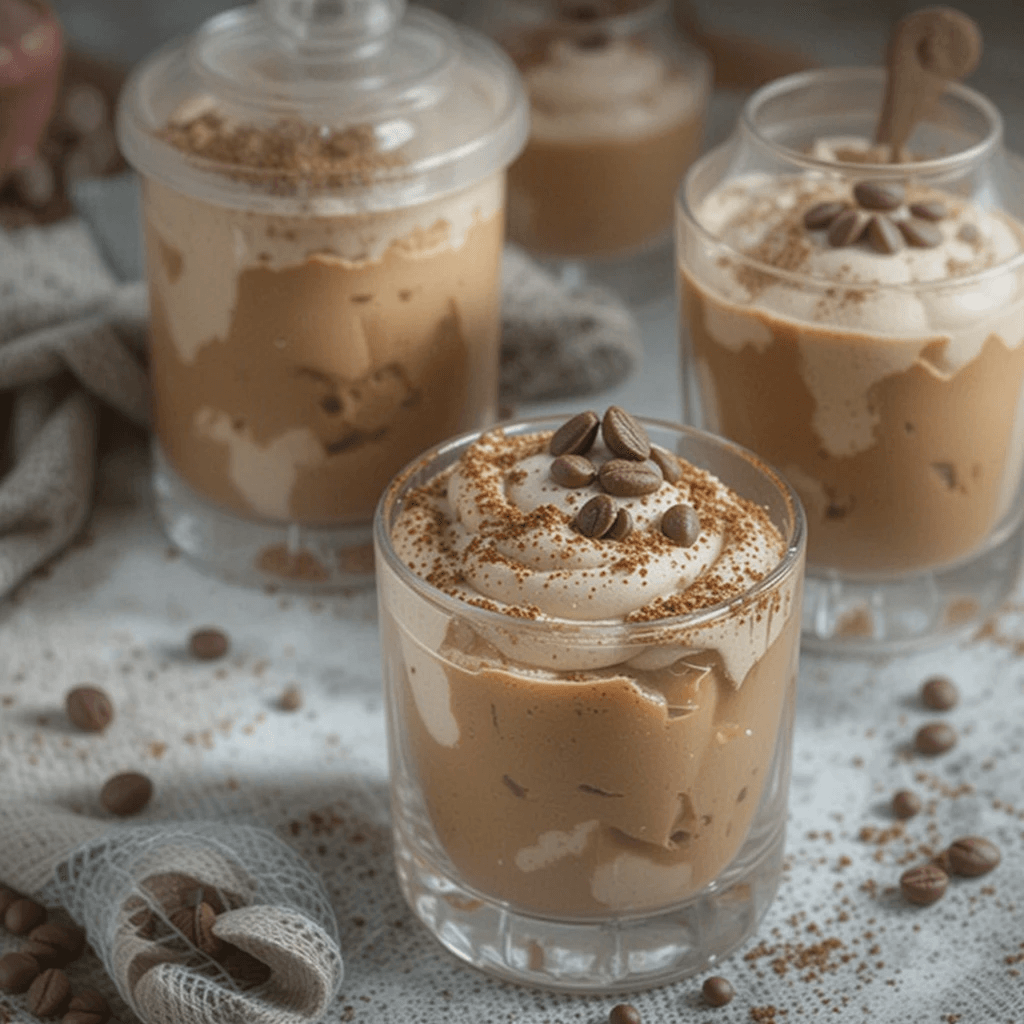
Optional Toppings
- Whipped cream
- Chocolate shavings
- Cocoa powder
- Coffee beans for garnish
Step-by-Step Coffee Mousse Recipe
Step 1: Dissolve the Coffee
- In a small bowl, mix 1 tbsp instant espresso powder with 1 tbsp hot water until fully dissolved.
- If using brewed coffee, reduce it to 1 tbsp of strong concentrate.
Step 2: Prepare the Gelatin (Optional for Stability)
- Sprinkle 1 tsp gelatin over 2 tbsp cold water and let it bloom for 5 minutes.
- Microwave for 10 seconds or heat gently until liquid.
Step 3: Make the Custard Base
- In a heatproof bowl, whisk 3 egg yolks and ¼ cup sugar until pale.
- Gradually add the coffee mixture and vanilla extract.
- Place the bowl over a double boiler (or a saucepan with simmering water).
- Whisk constantly for 5-7 minutes until thickened (do not scramble the eggs).
- Remove from heat, stir in gelatin (if using), and let cool slightly.
Step 4: Whip the Cream
- In a chilled bowl, whip 1 cup heavy cream to medium peaks (soft but holds shape).
Step 5: Fold Everything Together
- Gently fold the coffee custard into the whipped cream until smooth.
- Avoid overmixing to keep the mousse light.
Step 6: Chill & Set
- Divide the mousse into serving glasses or ramekins.
- Refrigerate for at least 4 hours (or overnight) to set.
Step 7: Garnish & Serve
- Top with whipped cream, chocolate shavings, or cocoa powder.
- Enjoy your creamy coffee mousse!
Tips for the Best Coffee Mousse
🔹 Use high-quality coffee – Espresso powder gives the strongest flavor.
🔹 Don’t overwhip the cream – Stop at soft peaks for a silky texture.
🔹 Chill bowls & beaters – Helps whip cream faster.
🔹 For a stronger kick – Add ½ tbsp coffee liqueur (like Kahlúa).
Variations of Coffee Mousse
- Mocha Mousse – Add 1 tbsp cocoa powder to the custard.
- Vegan Coffee Mousse – Use coconut cream and aquafaba instead of dairy.
- Iced Coffee Mousse – Serve with a scoop of coffee ice cream.
- Tiramisu Mousse – Layer with ladyfinger biscuits and mascarpone.
How to Store Coffee Mousse
- Fridge: Keeps well for 3-4 days covered.
- Freezer: Not recommended (texture changes).
FAQs About Coffee Mousse
1. Can I make coffee mousse without eggs?
Yes! Use ½ cup mascarpone cheese or tofu for a no-egg version.
2. Why is my mousse too runny?
- Under-whipped cream
- Not enough chilling time
- Skipping gelatin (if needed)
3. Can I use regular coffee instead of espresso?
Yes, but reduce liquid coffee to 1 tbsp concentrate for best results.
4. Is coffee mousse gluten-free?
Yes, this recipe is naturally gluten-free.
Final Thoughts
This homemade coffee mousse recipe is a luxurious, easy dessert that coffee enthusiasts will adore. With its velvety texture and bold coffee flavor, it’s perfect for any occasion.
Try it today and impress your guests!